Ever noticed your water not getting as hot as it used to or not at all? Chances are your electric water heater’s heating element is to blame. Fortunately, testing a water heater element is something even a non-plumber can do with a few tools and a bit of guidance. In this guide, you’ll learn how to test your water heater element like a pro step-by-step with safety tips, tools, and what to do with your results. Lets deep dive into “How to Test a Water Heater Element: Easy DIY Multimeter Guide”
“Don’t Guess—Use the UL Verified Solution for Sediment Clogs” – Positions the tool as the “official” way to fix the problem. Check this product below-
What Is a Water Heater Element?
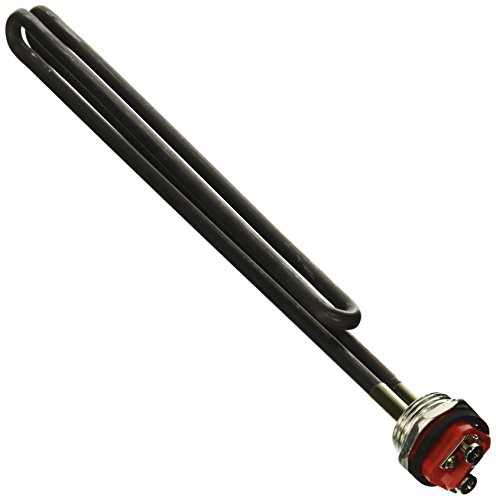
A water heater element is a metal rod that heats water inside an electric water heater tank. It functions similarly to a stove’s heating coil, turning electrical energy into heat. Most residential electric water heaters use one or two elements—either working simultaneously or sequentially—to maintain hot water supply.
Each element is controlled by a thermostat, which triggers it to heat when water temperature dips below the set level. Over time, these elements can burn out, scale over, or corrode—leading to inefficiency or complete failure.
READ MORE: How Much Does It Cost to Replace a Water Heater?
Common Symptoms of a Faulty Heating Element
If your water heater element isn’t working, it usually gives off some pretty noticeable warning signs. Keep an eye (and ear) out for the following:
- No Hot Water: The most obvious sign—especially if your heater is electric.
- Luke-Warm Water: Suggests one of two heating elements has failed in a dual-element system.
- Slow Recovery Time: The heater takes longer than usual to heat a fresh tank.
- Strange Sounds: Popping or hissing noises can be due to sediment buildup on the element.
- Higher Energy Bills: A faulty element works harder, pulling more electricity than usual.
These symptoms don’t always confirm a failed element—but they’re good indicators that it’s time to test it.
“End the Rotten Egg Smell in 24 Hours—Guaranteed” – Targets the most desperate pain point with a time-sensitive promise. Check this Anode Rod-
Why Testing Your Water Heater Element Matters
Ignoring a potentially faulty water heater element can lead to:
- Wasted electricity
- High energy bills
- Damaged thermostats
- Total heater failure
Testing lets you catch problems early, avoid unnecessary replacement of the entire unit, and extend the life of your heater.
Safety First: Preparing to Test the Element
Tools and Equipment Needed
Before you get started, gather these tools:
- Digital Multimeter (or analog, as long as it measures resistance). Check this product & Price
- Screwdrivers. Check this Product & Price
- Non-contact voltage tester. Check this Tester & Price
- Work gloves. Check this Gloves & Price
- safety glasses. Check this Glasses & Price
- Bucket or towel (in case of leaks or spills)
Having the right tools ensures both accuracy and safety throughout the process.
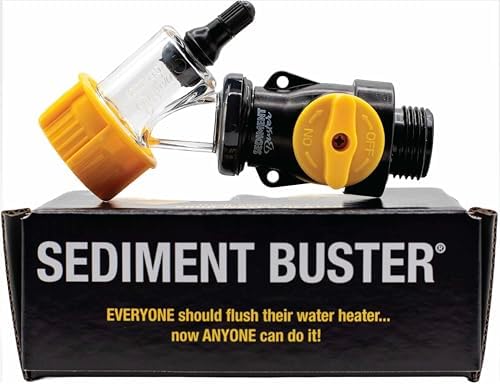
“Save $200 on Every Service Call—Be Your Own Plumber” – Directly addresses the high cost of professional maintenance. Try this Flushing kit-

Safety Precautions Before Starting
Working with electricity and water is never something to take lightly. Here’s how to prep safely:
- Turn Off Power: Locate your breaker box and shut off the circuit for the water heater.
- Confirm Power Is Off: Use a non-contact voltage tester at the element terminals.
- Allow Cooling Time: Wait at least 2 hours after use for water to cool to prevent burns.
- Wear Protective Gear: Always wear gloves and safety glasses when working on water and electrical components.
Double-check everything before touching any wires or components. Better safe than sorry!
Locating the Heating Elements on Your Unit
Most residential water heaters have two heating elements—one at the top and one at the bottom. To locate them:
- Look for two removable metal access panels on the side of your heater.
- Use a screwdriver to remove the panels and the insulation behind them.
- You’ll see the element terminals, usually with two screw heads and two wires.
“The Easiest Way to Swap Elements—No Plumber Required” – Directly targets the DIYer looking for a “painless” project. Check this DIY Friendly combo Pack–

READ MORE: How to Flush a Tankless Water Heater
Understanding Your Water Heater
Types of Water Heaters and Their Elements
There are several types of electric water heaters, and knowing what you have makes the testing process easier. The two main types are:
- Standard Electric Tank Water Heaters: These are the most common in homes. They typically have two elements—an upper and a lower one—each controlled by its own thermostat.
- Point-of-Use Electric Water Heaters: These are smaller units usually found under sinks or in garages. They often contain just one heating element.
Other variations, like hybrid electric water heaters, also use heating elements but include a heat pump system to assist with energy efficiency.
Knowing which kind you have helps you pinpoint which element may be faulty—and whether you need to test one or both.
Single vs. Dual Element Heaters
Let’s clear up a big source of confusion. Electric water heaters can have:
- Single Heating Element Models: Usually found in compact or point-of-use units.
- Dual Heating Element Models: Common in standard 40- to 80-gallon tanks.
In dual-element systems:
- The top element activates first and heats the upper part of the tank.
- Once satisfied, the bottom thermostat switches on the lower element to heat the rest of the tank.
If your water is only partially hot, it’s often the bottom element that has failed. If there’s no hot water at all, both could be the culprit—or just the top one, since the bottom never gets triggered.
Thermostat and Element Relationship
Your water heater thermostat is the brain behind the operation, telling each element when to heat the water. Here’s how it works:
- The thermostat senses the water temperature inside the tank.
- When the water drops below the set temperature, it activates the connected heating element.
- Once the water reaches the desired temp, it shuts off the element.
Faulty elements confuse the thermostat, causing it to cycle improperly—or not at all. That’s why it’s important to test both the element and thermostat if you’re not getting reliable hot water.
Check this Rheem SP20060 Electric Water Heater Tune-Up Kit-

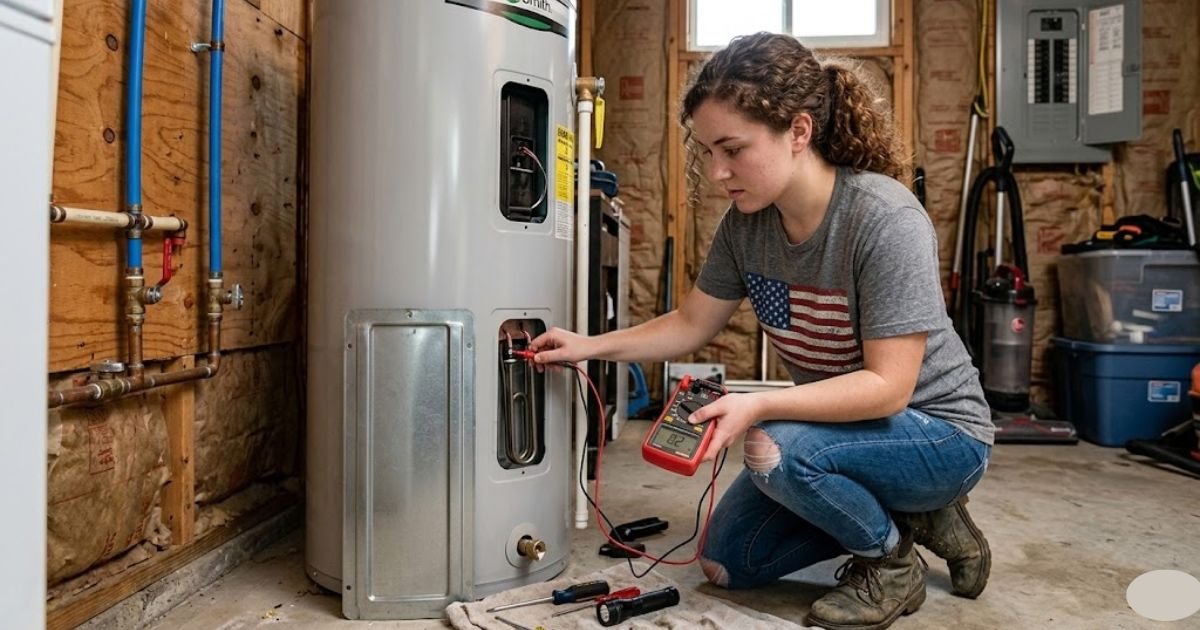
How to Test a Water Heater Element: Easy DIY Multimeter Guide
Step 1: Turn Off Power Supply
This is the golden rule. Head to your electrical panel and shut off the breaker labeled “Water Heater.” This prevents accidental shocks while you’re working on the unit.
Double-check using a voltage tester or multimeter at the heater’s wiring terminals. You should read zero volts before continuing.
Step 2: Access the Element Panels
Grab your screwdriver and open up the metal panels on the side of the water heater. You’ll usually see:
- A foam or fiberglass insulation layer—peel this back gently.
- A plastic safety cover over the element—remove this carefully.
Once exposed, you’ll see the two screws and wires connected to the element. You’re now ready to begin the actual test.
Step 3: Disconnect the Wiring
For accurate testing, you’ll need to isolate the element from the rest of the electrical system.
- Use a screwdriver to loosen the screws holding the wires to the element.
- Remove the wires and push them to the side (make sure they don’t touch anything metal).
This step ensures your multimeter reads the element only—not the rest of the circuit.
Step 4: Set Up the Multimeter
Your multimeter is the key tool in this process. To test resistance:
“Stop Guessing. Stay Safe with VoltAlert™ Non-Contact Detection.” – Highlights the ability to check for live wires without even touching them. Check this Beast Digital Multimeter-

- Set the multimeter to the Ohms (Ω) setting.
- If your multimeter has multiple Ohm ranges, select the lowest range (typically 200Ω).
Touch the two probes together. You should see a reading close to 0—that means your multimeter is working correctly.
Step 5: Measure Resistance (Ohms)
With the water heater element fully disconnected:
- Touch one probe to each terminal screw on the element.
- Read the resistance value on the multimeter display.
What you’re looking for:
- A reading between 10–30 ohms typically indicates a good element.
- A reading of 0 or close to 0 means the element is shorted.
- A reading of OL or infinity means the element is open (burned out).
Repeat this for both upper and lower elements if applicable.
Step 6: Interpret the Readings
Let’s break down what your multimeter is telling you:
| Multimeter Reading | What It Means |
| 10–30 ohms | Element is functioning |
| 0 ohms | Element has shorted |
| OL / ∞ (infinity) | Element is burned out |
If either element shows 0 or OL, it’s time for a replacement. If both read normal, your thermostat may be the problem—not the heating element.
“Double the Power: Replace Both Elements & Thermostats at Once” – Highlights the logic of doing a full tune-up rather than a patch job. check this-

READ MORE: How Long Does a Hot Water Heater Last?
Alternative Testing Methods
Continuity Test with a Multimeter
If resistance testing seems too technical, you can also perform a continuity test, which is just as reliable and often easier to understand.
Here’s how:
- Set your multimeter to continuity mode (usually represented by a soundwave symbol).
- Touch the two probes to the heating element terminals.
- Listen for the beep – if the multimeter beeps, it means continuity is good, and the element isn’t broken.
- No sound? That means the circuit is open, and the element is bad.
Continuity tests are a great option if you’re not comfortable interpreting ohms or resistance readings.
Using a Non-Contact Voltage Tester
This method is best for checking power flow, not resistance. It’s especially helpful before starting a test to ensure power is off.
How to use it:
- Hover the tester near the element terminals.
- If it lights up or beeps, electricity is still flowing—don’t touch anything until power is disconnected at the breaker.
While this tool won’t help you test the element’s health, it’s vital for safety assurance.
Visual Inspection of the Element
Sometimes, you can visually confirm a bad heating element. This requires draining the tank and removing the element entirely.
What to look for:
- Burn marks or blackened spots
- Heavy scale or sediment buildup
- Broken or warped coils
A damaged or degraded element should always be replaced—even if it’s still barely working—because it’s on the verge of failure.
What the Test Results Mean
Normal Resistance Range
Most heating elements for standard residential electric water heaters will show resistance readings in the 10 to 30 ohms range, depending on wattage and voltage.
Here’s a general guide:
| Element Wattage | 240V Resistance Range | 120V Resistance Range |
| 1500W | 38 – 45 ohms | 9 – 11 ohms |
| 2000W | 29 – 32 ohms | 6 – 8 ohms |
| 3500W | 15 – 18 ohms | Not available |
| 4500W | 11 – 13 ohms | Not available |
If your readings are significantly outside these ranges, you’ve got a faulty element.
Signs of a Burnt-Out Element
A completely failed element usually shows up in three ways:
- OL/Infinity on the multimeter – indicates a broken internal circuit.
- 0 Ohms – suggests the element is shorted, which can trip your breaker.
- No continuity – your multimeter stays silent when the probes touch the terminals.
In all these cases, the solution is simple: replace the element.
When to Replace the Element
You should replace the element if:
- It fails the resistance or continuity test.
- It’s visibly damaged or coated in scale.
- Your water heater is producing inconsistent or no hot water.
- You’ve already confirmed the thermostat is working fine.
Most heating elements cost between $15–$40, and the job usually takes under an hour with basic tools.
Replacing a Faulty Heating Element
Choosing the Right Replacement Element
Before buying a replacement, check the specs on your existing element. You’ll typically need to match:
- Wattage (e.g., 1500W, 3500W, 4500W)
- Voltage (usually 240V for standard residential units)
- Thread size (screw-in is most common)
- Element shape (straight, folded, or ripple)
If in doubt, bring the old one to a hardware store or take a picture of the label.
Step-by-Step Replacement Instructions
Here’s how to replace a bad element:
- Turn off power and drain the tank below the level of the element.
- Remove the old element using an element wrench.
- Clean the mounting area to remove rust or sediment.
- Install the new element, tightening securely but not overtightening.
- Reconnect wires, matching the same configuration as before.
- Refill the tank, open a hot water tap to bleed air.
- Turn the power back on and wait 1–2 hours for hot water.
If everything’s done correctly, your heater will be back in action.
READ MORE: How to Drain a Hot Water Heater
Reassembling and Refilling the Tank
After replacing the element:
- Replace the plastic cover, insulation, and metal access panel.
- Slowly open the cold water valve to refill the tank.
- Open a hot water faucet until water flows steadily—this bleeds trapped air.
- Once the tank is full and air is out, restore power at the breaker box.
Check for leaks and test hot water in 60–90 minutes.
Preventive Maintenance Tips
Flushing the Tank to Prevent Sediment
Sediment is your water heater’s worst enemy. It builds up around the element and causes it to overheat and fail prematurely. Flush your tank every 6–12 months to prevent this.
Steps:
- Turn off the heater.
- Connect a garden hose to the drain valve.
- Open the valve and let water flow until clear.
- Close valve, remove hose, and refill the tank.
Clean tank = longer life for your element.
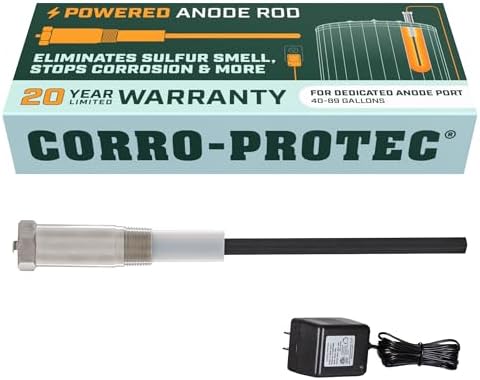
Checking the Anode Rod
The anode rod attracts corrosive elements that would otherwise destroy your tank. Check it every 2–3 years, and replace it if it’s less than half its original thickness or heavily corroded.
Doing this can double the life of your water heater—and prevent element failure from rust.
Annual Inspection Checklist
Each year, run through this simple checklist:
- Test both heating elements
- Flush sediment from the tank
- Inspect and replace anode rod if needed
- Check temperature setting (120°F is ideal)
- Look for leaks or rust around fittings
A little upkeep goes a long way in avoiding cold showers and big repair bills.
Can I test a water heater element without draining the tank?
Yes, as long as you don’t plan to remove the element. Testing with a multimeter only requires the power to be off and wires disconnected.
How often should I test my water heater elements?
Once a year during routine maintenance is ideal. If you notice problems with hot water, test immediately.
What happens if I don’t replace a faulty element?
You’ll experience inconsistent or no hot water, higher electric bills, and possible further damage to your water heater.
Is it safe to replace a heating element myself?
Yes, if you follow safety steps: turn off the breaker, test for voltage, and handle all components with care. If unsure, call a pro.
What’s the average cost to replace a water heater element?
DIY replacements cost $15–$40 for the part. Hiring a pro may cost $100–$200 including labor.
Final Thoughts
Testing your water heater element might seem technical at first, but it’s a surprisingly easy and rewarding task. With just a multimeter and a bit of caution, you can diagnose heating issues, replace faulty components, and bring your system back to full efficiency—all without calling a plumber.
Remember to prioritize safety, always turn off power before beginning, and double-check your results before deciding on a replacement. And don’t forget that a little regular maintenance keeps your water heater humming for years to come.
Stay warm, stay safe—and enjoy your hot showers again!

