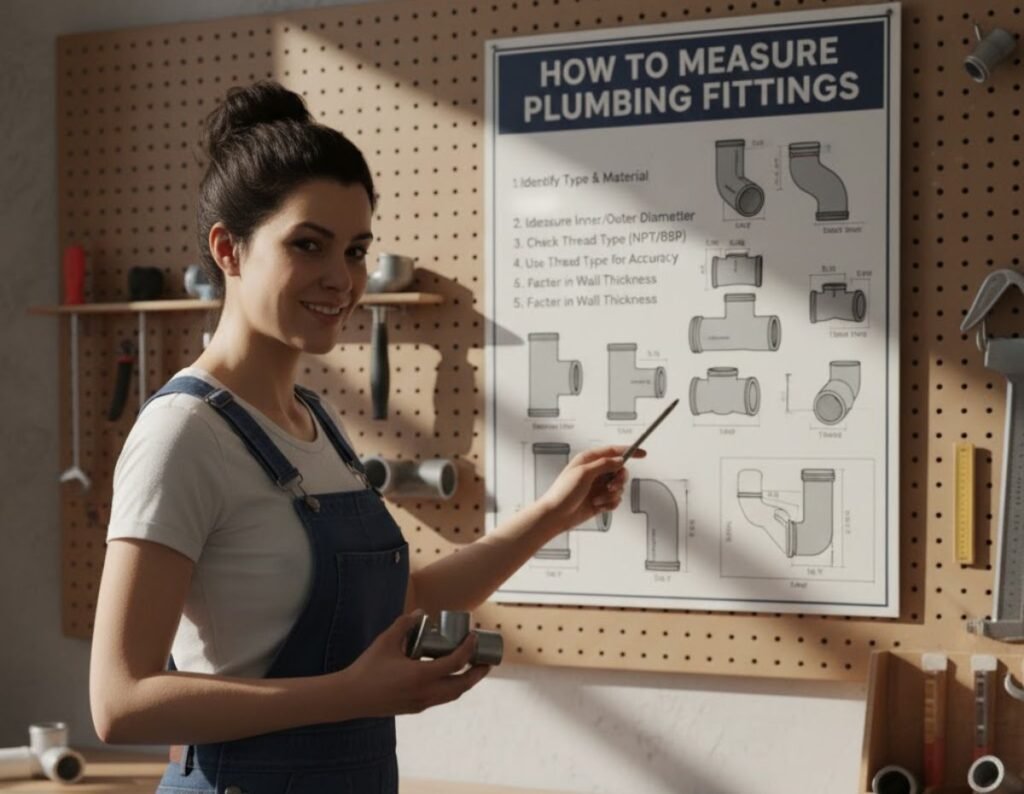
If you’ve ever tried replacing a plumbing part only to find your new fitting doesn’t fit don’t worry, you’re not alone. Measuring plumbing fittings can be tricky because their labeled size often doesn’t match the actual physical dimensions. Knowing how to properly measure fittings ensures that your pipes, valves, and connectors fit perfectly, preventing leaks and unnecessary frustration.
In plumbing, a small miscalculation can lead to big problems think water leaks, poor pressure, or even costly water damage. Whether you’re a DIY enthusiast working on a home repair or a contractor managing a renovation, understanding how to measure plumbing fittings accurately will save you time, money, and a lot of headaches. Lets deep dive into “How to Measure Plumbing Fittings”

- 【STAINLESS STEEL MATERIAL】The vernier caliper is made of high-strength stainless steel and is waterproof and dirt-proof….
- 【ACCURATE MEASUREMENT AND ZERO SETTING】This digital caliper glides smoothly. Measuring range: 0 -6″ / 0-150mm; Accuracy:…
- 【4 MEASUREMENT MODES】The digital caliper has 4 measurement modes, which can be used to measure inside and outside diamet…
READ MORE: How to Measure Sludge Levels in a Septic Tank — DIY & Pro Guide
Understanding Plumbing Fittings
Plumbing fittings are the connectors that allow different pipes to join, change direction, or terminate. They come in many shapes and types, including:
- Elbows: Change the direction of flow (e.g., 45° or 90°).
- Tees: Split or combine flow paths.
- Couplings: Connect two straight pieces of pipe.
- Adapters: Join pipes of different materials or sizes.
- Caps and Plugs: Close off pipe ends.
Fittings can be made of copper, brass, PVC, CPVC, PEX, or galvanized steel. Each type has its own size standard and measurement method—making it crucial to know which system your fitting belongs to before you start measuring.
READ MORE: What Does FNPT Mean in Plumbing?
Basic Terms You Need to Know
Before you grab your measuring tools, it’s essential to understand some basic plumbing terminology:
- Nominal Pipe Size (NPS): A standardized reference for pipe diameter that doesn’t always match the actual measurement.
- Inside Diameter (ID): The space inside the pipe—important for determining flow capacity.
- Outside Diameter (OD): The total external width of the pipe, crucial for fitting compatibility.
- Pipe Schedule: Refers to wall thickness. A thicker wall means a smaller inside diameter for the same nominal size.
For example, a “½-inch pipe” actually has an outside diameter closer to 0.84 inches. That’s why measuring physically without understanding these terms often leads to confusion.
Tools Needed for Measuring Plumbing Fittings
You don’t need an engineering lab to measure fittings accurately just the right tools and a bit of patience.
- Caliper: Provides precise ID and OD measurements. A digital caliper is ideal for accuracy.
- Ruler or Measuring Tape: Useful for quick checks or large fittings.
- Thread Pitch Gauge: Helps identify thread type and spacing (especially for NPT and BSP).
- Pipe Measuring Tape: A flexible tape designed to measure pipe circumference and convert it to diameter.
- Thread Identification Chart: Handy for comparing your measurements to standard pipe thread dimensions.
Having these tools on hand ensures that whether you’re measuring a small compression fitting or a large PVC elbow, you’ll get reliable results.
READ MORE: Is Fuel Gas Part of a Residential Plumbing System?
How Plumbing Fittings Are Sized
One of the biggest misconceptions in plumbing is assuming that the size written on a fitting matches its actual diameter. In reality, fittings are sized based on nominal pipe size, which refers to the approximate inside diameter of the pipe they fit not their outer dimension.
For instance:
- A ½-inch copper fitting doesn’t measure ½ inch anywhere it’s closer to ⅝ inch on the outside.
- A 1-inch PVC fitting fits pipe with an OD of about 1.315 inches.
Always remember: fittings are measured by the pipe size they connect to, not by their own dimensions.
- Upgrade Thread Checker: Ultimate Organization with 3 Storage Options. The magnetic base allows for quick, temporary plac…
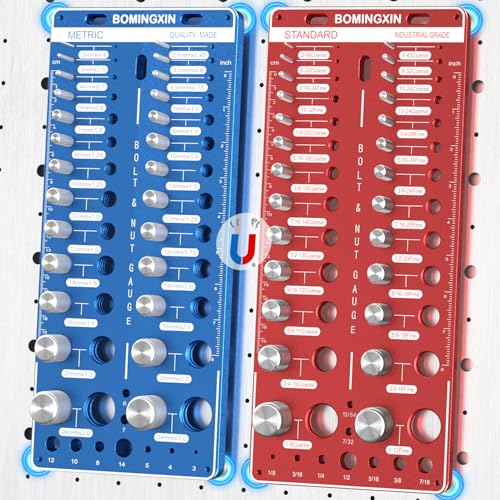
- Compliant with US Thread Standards: Our thread checker standard and metric quickly identifies 52 different sizes bolt an…
- 26 Metric Thread Sizes:2mm*0.4,2.5mm*0.45,3mm*0.5,3.5mm*0.6,4mm*0.7,4.5mm*0.75,5mm*0.8,6mm*1.0 ,7mm*1.0 ,8mm*1.0 ,8mm*1….
Measuring Pipe Threads (Male and Female)
Threaded fittings are among the most common types, found in metal and plastic plumbing. To measure them correctly:
For Male Threads (external):
- Measure the outside diameter (OD) across the threads using a caliper.
- Use a thread pitch gauge to determine the number of threads per inch (TPI).
- Match these measurements to a standard chart (e.g., NPT chart) to identify size.
For Female Threads (internal):
- Measure the inside diameter (ID) from one side of the thread to the other.
- Use the thread gauge to find the TPI or pitch.
- Compare with standard charts to confirm fitting type.
Example:
A male fitting with an OD of approximately 0.84 inches and 14 TPI is a ½-inch NPT fitting.
Correctly identifying threads prevents mismatched connections that can cause leaks or fitting damage.
READ MORE: What Are SharkBite Fittings in Plumbing?
Measuring Slip (Non-Threaded) Fittings
Slip fittings are smooth, non-threaded connectors used for PVC, CPVC, or copper pipes. They rely on glue (for plastic) or solder (for metal) rather than threads.
To measure:
- Measure the inside diameter (ID) of the slip fitting.
- This ID should match the outside diameter (OD) of the pipe it connects to.
- For example, a ¾-inch PVC slip fitting typically has an ID around 1.05 inches to fit ¾-inch pipe (which has an OD of 1.05″).
Tip: Use a caliper for accurate measurement. Always check that your pipe slides snugly into the fitting too loose means leaks; too tight means improper sizing.
READ MORE: How Much Does a Plumbing Snake Cost?
Understanding Thread Standards (NPT, BSP, etc.)
Not all threads are created equal. Two fittings may look identical but still won’t connect if they use different thread standards.
- NPT (National Pipe Thread): Standard in North America; has tapered threads that create a tight seal.
- BSP (British Standard Pipe): Used in the UK and many other regions; available in parallel (BSPP) and tapered (BSPT) types.
Key differences:
- NPT threads have a 60° thread angle; BSP threads have a 55° angle.
- NPT fittings tighten mechanically; BSPP often requires an O-ring for sealing.
Always confirm the thread type before purchasing replacement fittings NPT and BSP fittings are not interchangeable.
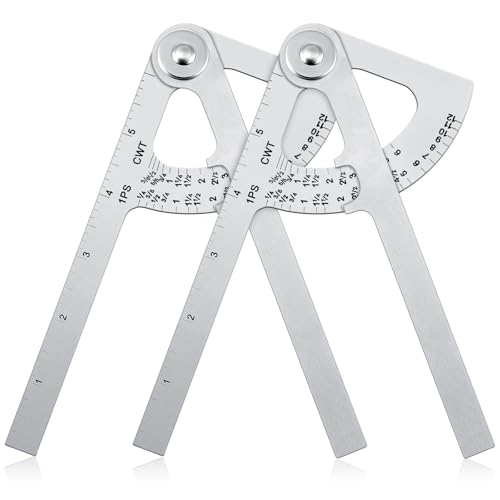
- Durable Design: the Pocket Sized Pipe Caliper is not just a measuring tool, it is an essential asset for high precision …
- Precision and Clarity: precision is key when taking measurements; That’s why our caliper pipe measuring tool is meticulo…
- Compact and Portable: the Pocket Sized Pipe Caliper is only 7 inches in size, making it super portable and easy to carry…
How to Measure Compression Fittings
Compression fittings are widely used for connecting pipes without soldering or threading. They consist of three main parts: a compression nut, a ferrule (or olive), and the fitting body. These are common in copper, brass, and plastic piping systems.
To measure a compression fitting correctly:
- Disassemble the Fitting: Remove the nut and ferrule so you can access the connection points.
- Measure the Pipe or Tubing: Use a caliper to measure the outside diameter (OD) of the pipe that fits into the fitting. This is your fitting size.
- Check the Nut Size: While the nut may appear larger, it doesn’t determine the fitting size the tubing OD does.
- Match with Chart: Compare your measurement with standard compression fitting charts. For example, a ½-inch compression fitting is designed for tubing with a ½-inch OD.
Pro Tip: Don’t confuse compression fittings for flare fittings they may look similar, but flare fittings have a tapered seat for sealing, whereas compression fittings rely on the ferrule compressing around the pipe.
READ MORE: What Is Rough-In Plumbing?
How to Measure Push-to-Connect (Quick Connect) Fittings
Push-to-connect fittings (also called push-fit fittings) are modern, easy-to-use connectors commonly used with PEX, CPVC, and copper pipes. These fittings “snap” onto pipes without tools or soldering.
To measure push-to-connect fittings:
- Measure the Tubing’s Outer Diameter: Use a caliper to measure the pipe OD. For example, if your PEX pipe’s OD is ⅝ inch, you’ll need a ½-inch push fitting.
- Check the Fitting Label: Most push fittings are labeled by the nominal pipe size they fit (½”, ¾”, etc.), which corresponds to the pipe’s ID.
- Account for Tubing Material: Copper and PEX may share nominal sizes but differ slightly in OD. Always check that the fitting is rated for your pipe type.
Tip: Push fittings are reusable if you remove one, inspect the O-ring inside before reusing to ensure a watertight seal.
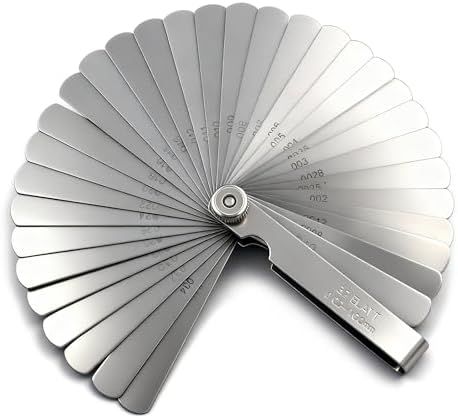
- 【EASY TO USE AND CONVENIENT】Made of high quality stainless steel, each measuring feeler gauge has 32 blades thickness; F…
- 【BUILT TO LAST】Constructed from hardened tempered steel with a lube oil coating to prevent pitting and corrosion; Each b…
- 【EASY IDENTIFICATION】 dual marked metric and imperial, 0.0008 inch/ 0.02 mm to 0.040 inch/ 1 mm, the numbers of size are…
Measuring Copper, PVC, and PEX Fittings
Each pipe material follows different sizing conventions, so understanding their specific measurement systems is crucial.
Copper Fittings
Copper uses nominal sizes that are close to but not exactly the inside diameter of the pipe.
- A ½-inch copper pipe has an OD of about ⅝ inch (0.625”).
- Always measure the OD of the pipe to determine the fitting size.
Copper fittings are often labeled by the pipe they connect to, not by their own physical size.
PVC and CPVC Fittings
PVC and CPVC are sized according to nominal pipe size (NPS).
- Measure the inside diameter (ID) of the fitting socket.
- Match it to the outside diameter (OD) of the pipe.
For example, a 1-inch PVC fitting will have an ID slightly larger than 1.315 inches to fit a 1-inch PVC pipe snugly.
PEX Fittings
PEX uses the same nominal sizing as copper, but since it’s flexible, its wall thickness varies slightly.
- Use a caliper to measure the OD of the PEX tubing.
- Standard sizes include ⅜”, ½”, ¾”, and 1″.
Remember that PEX fittings (like crimp or push-fit types) are labeled based on tubing ID, not OD.
READ MORE: How Much Does a Plumber Charge for a Hose Bib?
- All-in-One Angle Stop Valve Kit: Quickly replace compression angle stops and remove compression rings with step-by-step …
- 2-in-1 Plumbers Wrench: Enhanced grip and torque with a dual-action mechanism. Adjustable wrench fit 15/16″ & 5/8″ nuts,…
- Wall & Pipe-Safe Ferrule Removal: The compression sleeve puller removes leaky ferrules without damaging walls, copper pi…
Converting Between Pipe and Fitting Sizes
Sometimes, you’ll need to convert between different size systems, especially when mixing materials (e.g., connecting PVC to copper or PEX). That’s where conversion charts come in handy.
Here’s a quick reference:
| Nominal Pipe Size | Copper Pipe OD | PVC Pipe OD | PEX Pipe OD |
| 3/8” | 0.500” | 0.675” | 0.500” |
| 1/2” | 0.625” | 0.840” | 0.625” |
| 3/4” | 0.875” | 1.050” | 0.875” |
| 1” | 1.125” | 1.315” | 1.125” |
When working across systems, use adapter fittings (such as copper-to-PEX or PVC transition couplings) to maintain proper sealing and flow.
READ MORE: Carrier Heat Pump Reviews (2026) — Models, Costs, Pros & Cons
Common Mistakes When Measuring Plumbing Fittings
Even seasoned DIYers make mistakes when measuring fittings. Here are the most frequent ones and how to avoid them:
- Confusing Nominal and Actual Size: The “½-inch” on a fitting doesn’t measure ½ inch anywhere. Always check OD and ID rather than relying on labels.
- Ignoring Wall Thickness: Different schedules (like Schedule 40 vs. Schedule 80) affect the inside diameter of a pipe—important when matching fittings.
- Forgetting Thread Standards: Mixing NPT with BSP threads is one of the most common causes of leaks.
- Measuring the Wrong Part: Measure the pipe, not the fitting nut or outer edge.
- Skipping the Thread Pitch Check: Threads that look identical may have different pitches or angles.
- Assuming Metric Equals Imperial: A 15mm pipe is not the same as a ½-inch pipe they differ slightly in size and won’t seal properly.
Pro Tip: Always measure twice before buying replacements returning fittings gets old fast!

READ MORE: Best Tankless Water Heater 2026 — Top Picks, Costs & Buyer’s Guide
Tips for Getting the Right Fit Every Time
Want to make sure you never buy the wrong fitting again? Follow these best practices:
- Keep a Fitting Gauge or Chart Handy: Many plumbing stores sell plastic templates for comparing pipe sizes instantly.
- Carry a Sample: If replacing an old fitting, take it to the hardware store. Comparing physically is often the fastest method.
- Label and Organize Fittings: Store fittings by type and size in labeled bins. It saves you hours during future repairs.
- Measure Both the Pipe and Fitting: Confirm both dimensions to ensure a tight and proper seal.
- Consult Manufacturer Specs: Many brands have downloadable sizing guides online.
- When in Doubt, Ask a Plumber: A quick professional opinion can prevent costly mistakes or rework.
Remember, plumbing is all about precision a fitting that’s just 1/16-inch off can make or break your system’s integrity.

- 2-in-1 Digital Tape & Laser Measuring Tool: Combines a 9.8ft digital tape measure for detail work with a powerful 165ft …
- Bright IPS Color Display: Features a 1.47-inch IPS color screen (500nit brightness, 172×320 res) showing both tape and l…
- High-Precision Measurement Tech: Achieves high accuracy: laser ±1/8in, tape ±1/16in, dual-axis electronic angle ±1°. Dig…
Conclusion
Measuring plumbing fittings isn’t as straightforward as grabbing a ruler and reading numbers it’s about understanding how pipes and fittings are labeled, connected, and standardized. Whether you’re working with copper, PVC, PEX, or threaded metal, every material follows its own sizing convention.
By learning how to correctly measure inside and outside diameters, identify thread types, and use proper tools, you’ll be able to confidently select the right fittings every time. Accurate measurement means fewer leaks, stronger connections, and smoother projects.
FAQs
How do I know if my fitting is NPT or BSP?
Check the thread angle and pitch. NPT threads have a 60° angle and taper, while BSP threads have a 55° angle. You can use a thread gauge or chart to confirm.
Are pipe and fitting sizes the same?
Not exactly. Fittings are labeled by the nominal pipe size they connect to—not their actual diameter. Always measure both to ensure a match.
What’s the easiest way to measure old fittings?
Use a caliper to measure the inside and outside diameters. Compare your readings with a sizing chart or bring the old fitting to a plumbing supply store for reference.
Can I mix metric and imperial fittings?
No. Metric and imperial fittings are slightly different in size and thread angle. Mixing them can lead to leaks or damage.
Why don’t my pipe measurements match fitting labels?
Because pipe sizes refer to nominal—not actual—measurements. For example, a ½-inch copper pipe actually measures about ⅝ inch outside diameter.

