Why Draining Your Water Heater Is Important
Your electric water heater works hard every day to supply your home with hot water. But over time, sediment and mineral deposits from your water source build up inside the tank. This can cause everything from strange noises and poor heating performance to higher energy bills and early equipment failure.
Solution? A simple process that your water heater is called draining.
Draining helps to remove these deposits, improves efficiency and expands the life of your unit. Whether you are regular maintenance for a full system flush or preparing, knowing how to dry your electric water heater properly, you can save you time, money and frustration.
In this guide, we’ll walk you through exactly how often to drain your heater, what tools you need, safety tips, and a clear, step-by-step breakdown of the entire process. Lets deep dive into “How to Drain an Electric Water Heater: Step by Step Guide”
How Often Should You Drain Your Water Heater?
Manufacturer Recommendations
Most water heater manufacturers recommend flushing and draining your tank once every 6 to 12 months. This maintenance interval is ideal for keeping the sediment buildup under control and ensuring that the unit efficiently performs a year -long. If you leave the drawing, Sediment can:
- Act as insulation between the heating elements and the water
- Reduce heating speed and efficiency
- Contribute to premature corrosion or damage
It is particularly important to follow the maintenance schedule of the manufacturer if your unit is still subject to warranty.
Factors That Impact Frequency
Certain conditions may require you to drain your heater more often:
- Hard water: More minerals = faster sediment buildup
- High hot water usage: Larger families or busy households
- Older units: Aging tanks may accumulate scale more quickly
- Noisy operation: Popping or banging sounds are signs of sediment
If you’re unsure about your water quality, pick up a water hardness test kit or contact your local utility for a water report.
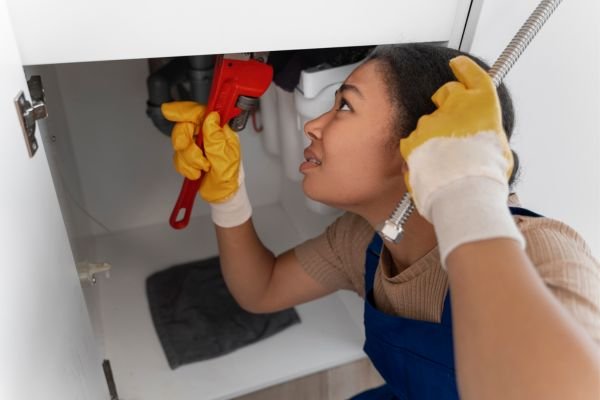
Safety Precautions Before You Start
Before draining an electric water heater, you need to shut off both the power and water supply to prevent accidents or equipment damage. Unlike gas models, electric heaters have heating elements that can become damaged if exposed to air while still powered.
Shutting Off Power and Water Supply
- Turn off the circuit breaker labeled for your water heater. This prevents the heating elements from activating while the tank is empty.
- If your heater has a power switch, shut that off too.
- Next, close the cold water shut-off valve at the top of the tank to stop water from entering during draining.
Warning: Never attempt to drain or flush an electric water heater while it’s still receiving power. This could damage the elements or cause a shock hazard.
Avoiding Burns and Electric Shock
Hot water stored in your heater can reach 120–140°F or more. Allow the unit to cool for at least 1–2 hours before draining.
Also, be cautious around electrical wiring, and never open electrical access panels without turning off the breaker.

READ MORE: How Often to Flush a Water Heater
Tools and Materials Needed
Draining a water heater doesn’t require many tools, but having the right ones on hand makes the job smoother and safer.
What You Need to Have on Hand
- Garden hose (25–50 ft, depending on where you drain)
- Bucket or floor drain
- Screwdriver (flathead, if your drain valve has a slot)
- Towel or sponge (for cleanup)
- Gloves (for handling hot water or sediment)

- AWARD-WINNING: HGTV, USA Today and Best Reviews voted Best Overall Garden Hose
- EXTREMELY DURABLE – Abrasion-resistant outer cover and crush-resistant anodized aircraft aluminum fittings
- PREMIUM HYBRID POLYMER – Ultra-flexible, won’t kink under pressure, coils easily, and lays flat with zero memory
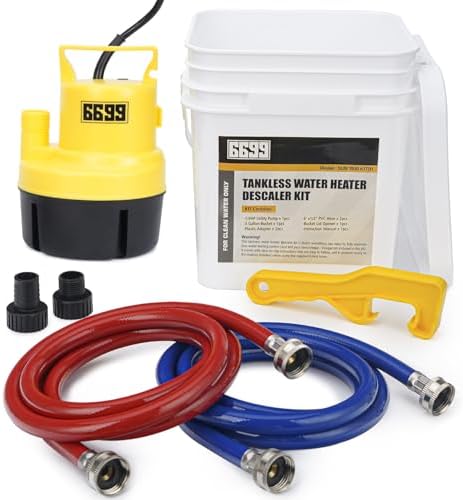
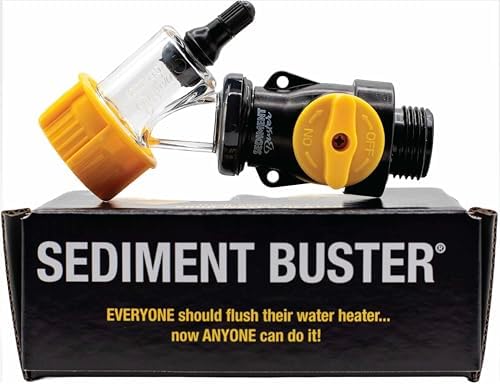
Optional Accessories to Simplify the Job
- Wet/dry vacuum (to clear sediment or drain clogged valves)
- Water hardness test kit
- Flush kit or descaling agent (for heavy buildup)
- Teflon tape (if replacing or resealing fittings)
Having these tools ready before starting helps avoid mid-process delays and messes.

- MULTIPLE BENEFITS – Extend the lifetime of your water heater, improve its efficiency, reduce your energy bill, and incre…
- WORKS GREAT – Other flushing methods only remove small loose sediment particles where the Turbo Tank Cleaner physically …
- UNIVERSAL – Cleans all water heater tank types, gas and electric (not for tankless water heaters).
How to Drain an Electric Water Heater: Step by Step Guide
Now that you have found your equipment and safety steps, go through an exact process of drying your electric water heater.
Step 1: Turn Off Power and Water
- Find the electrical panel of your home, find a “water heater” label breaker and close it.
- Then, shut off the cold water valve that feeds the heater—usually found at the top of the tank.
This prevents new water from entering the tank while draining.
Step 2: Connect a Hose to the Drain Valve
At the bottom of the water heater, you’ll find a brass or plastic drain valve. This is where you’ll attach your garden hose.
- Connect the hose securely to the valve. Make sure the other end of the hose leads to:
- A floor drain
- A utility sink
- The outside (if it slopes downward)
- A floor drain
- Ensure the hose lays flat and is free of kinks or loops to allow smooth drainage.
- Place a bucket under the drain valve if you plan to monitor the sediment or don’t have a long enough hose.
Pro Tip: Use a hose rated for hot water if possible. Standard garden hoses may soften or kink under high temperatures.
- UL Verified V699054 for heat & pressure
- Easy to use with instructions & videos
- Add years to the life of your water heater
READ MORE: Free Water Heater Disposal Near Me
Step 3: Open a Hot Water Faucet
To help air enter the tank and speed up draining, go to the nearest hot water tap (usually the kitchen or bathroom) and open it. Leave it running during the entire drain process.
This:
- Prevents a vacuum from forming in the tank
- Helps sediment dislodge more easily
- Speeds up drainage
Without this step, water may drain slowly or stop completely due to suction.

- Premium Quality: Wp3387747 is made from good material and each wp3387747 has been well inspected and tested by manufactu…
- 3387747 Replace Part Numbers: WP3387747, 3387747, 80003, AP2947033, 525502, AH344597, EA344597, PS344597
- 279816 Replace Part Numbers: 3399848, 3977393, AP3094244, WP279816, 279816, N197
Step 4: Open the Drain Valve and Let It Flow
Now it’s time to open the drain valve and start the actual draining.
- Use a flathead screwdriver or turn the handle (depending on valve style) to slowly open the valve.
- Allow water to begin flowing through the hose and out of the tank.
- Drain until the flow stops or slows to a trickle. This can take 20–60 minutes, depending on tank size and sediment.
If the water looks cloudy or rust-colored, that’s a good sign you’re removing built-up minerals and gunk.
Note: If water doesn’t drain or only trickles, sediment may be clogging the valve. Try:
- Opening and closing the valve a few times
- Briefly turning on the cold water inlet to stir up sediment
- Using a wet/dry vacuum to help force blockage out
Step 5: Flush Remaining Sediment (Optional but Recommended)
Once the tank is mostly empty, you can do a quick flush to remove extra debris.
- Leave the drain valve open
- Briefly turn the cold water valve back on (about 15–30 seconds)
- Let water rush into the tank and stir up leftover sediment
- Turn off the cold water valve again
- Let the tank fully drain once more
Repeat this 1–2 times for a cleaner flush, especially if your water heater hasn’t been serviced in a long time.
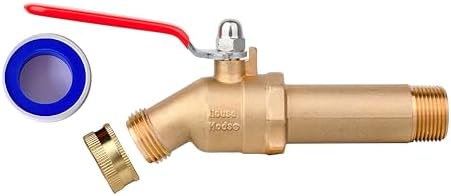
- This model HMP011 has a 3 inch long shank. For 2 inch shank, please buy model HMP010.
- Lead Free Compliant Brass Body, 304 Stainless Steel Ball Valve, Suitable for potable water.
- 3 inch shank, Fits Water Heater Drain Port up to 2-1/2″ Below the Surface.
Step 6: Close the Valve and Refill the Tank
Once you’re satisfied with the draining and flushing:
- Close the drain valve tightly
- Disconnect the hose
- Turn the cold water supply valve back on
- Let the tank fill completely (you’ll know when water flows from your open hot water tap)
- Leave the hot water tap open for a few minutes to:
- Release air
- Prevent airlocks
- Check for cloudy water
- Release air
Once the water runs clear and the tank is full, turn off the hot tap.
READ MORE: Can a Water Heater Explode If Turned Off?
Step 7: Restore Power and Test
After the tank is filled:
- Go to your electrical panel
- Flip the breaker back on for the water heater
Wait about 30 to 60 minutes for the water to heat up. Then:
- Test hot water at a faucet
- Check for leaks around the drain valve, pipe connections, or at the base of the tank
If you notice any leaks from the drain valve, you may need to:
- Tighten it slightly
- Replace the washer or valve (if worn or damaged)
Troubleshooting Common Issues
Drain Valve Won’t Open or Is Stuck
- Gently use pliers or a wrench to loosen it (avoid overtightening)
- Try opening the cold water valve briefly to create pressure
Drain Valve Leaks After Closing
- Tighten the valve with a wrench
- Use Teflon tape and replace the valve if leaking persists
No Water Flow from the Hose
- Ensure the hot tap is open
- Check for hose kinks
- Try flushing or using a wet/dry vacuum to clear blockages

- 【Contents】(2) Water Heater thermostats: one is upper and another is lower thermostat. 120V ~ 480V, Temperature Adjustmen…
- 【Contents】 (2) Copper Heating Elements with Gaskets: 4500W@240 (3800W@208V), Screw-in Type.
- 【Contents】(1) Element wrench socket: One end size 1-1/2-inch hex removing all residential screw-in water heater elements…
Conclusion
Drying your electric water heater is a simple but necessary task that helps to prolong its life, maintain efficiency and keep your warm water clean. For most homes, doing this once a year can save hundreds of dollars at repair and replacement costs.
By following these step-by-step instructions, you can handle this DIY maintenance in less than an hour, using only basic equipment and a little caution.
Regular draining = longer heater life + lower bills = happy homeowner.
FAQs
Can I drain my water heater while it’s still hot?
It’s best to let it cool for 1–2 hours to avoid burns and protect components.
Is draining the same as flushing?
Draining removes water; flushing includes stirring up and removing sediment. Both are often done together.
How long does it take to drain a 50-gallon electric water heater?
Usually 30–60 minutes, depending on hose size, sediment, and water pressure.
Can I drain it into my yard?
Only if allowed by local code, and avoid scalding plants with hot water.
Do tankless water heaters need draining?
No, but they require descaling instead—usually once a year in hard water areas.

