(Safety disclaimer: Working on electrical wiring can be dangerous. This article is for informational purposes only. For any work involving live circuits, splices, or permits you must hire a licensed electrician. Laws and codes vary consult your local building department.)
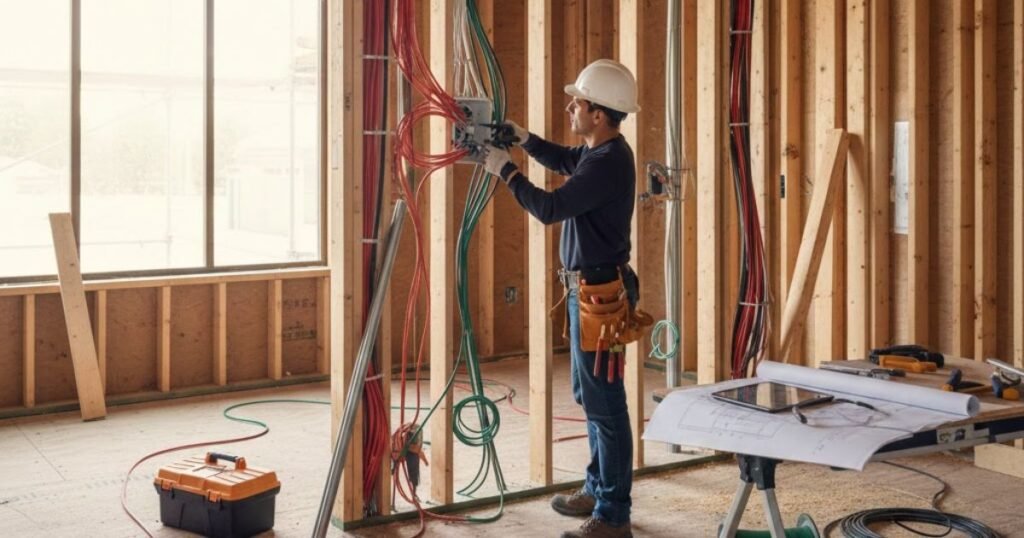
Electrical wiring installation covers the wiring, devices, and service equipment that safely deliver power through a home. That includes branch circuits (the outlets and lights you use every day), the service panel (breaker box), and the cables and conductors that connect them. Proper wiring protects your family, prevents fires, supports modern appliances, and keeps your house code-compliant which matters for safety and resale value.
This guide is written for U.S. homeowners who are thinking about new wiring, partial rewires, or upgrades (EV charger circuits, kitchen remodels, finished basements, or service panel upgrades). You’ll learn the common wiring types, signs you might need a rewire, what affects cost and timeline, when permits and inspections are required, and how to hire a licensed electrician.
How to know if you need new wiring or a rewire
Signs your home may need rewiring
- Age of wiring: Homes built before the 1960s often have outdated systems (knob-and-tube, cloth-insulated wiring, or early aluminum conductors). If your wiring is original and more than 50 years old, it’s worth an inspection.
- Frequent tripping or blown fuses: Recurrent breaker trips, especially when using common appliances, can indicate undersized circuits or failing components.
- Flickering or dimming lights: When lights dim noticeably as appliances cycle on, that can mean overloaded circuits or loose connections.
- Aluminum wiring or cloth insulation: These materials have known long-term issues (corrosion, brittleness) and often trigger insurance or resale concerns.
- Discolored or warm outlets and faceplates: Heat or scorch marks around outlets are red flags call a professional immediately.
- Not enough outlets or dedicated circuits: Modern kitchens, EV chargers, workshops, and home offices demand dedicated circuits. If you’re remodeling, you’ll likely need upgrades.
- A smell of burning or unusual buzzing: Any burning smell or humming should be checked right away.
Why homeowners rewire
- Safety first: Eliminate fire hazards from old or damaged wiring.
- Capacity for modern loads: Add circuits for EV charging, HVAC, kitchen appliances, or a home office.
- Renovation or addition: New rooms or major remodels usually require new branch circuits.
- Code compliance and resale: Bringing systems up to current code can ease selling and prevent insurance problems.
Real-world anecdote: An owner of a 1920s bungalow noticed their lights dimmed when the dishwasher started. The electrician found old cloth-insulated wiring and a 60-amp service inadequate for modern loads. A partial rewire and service upgrade solved the problem and the homeowner said the new wiring “made the house feel modern again.”
Common wiring types explained (non-technical) — with comparison table
Homeowners will encounter several commonly used wiring methods. Below is a concise comparison to help you understand their typical uses and tradeoffs. This is a high-level overview — not instructions for installation.
Quick comparison of common residential wiring types and when they’re used.
| Wiring type | Typical use | Pros | Cons | Suitable for homeowner projects? |
| NM-B (Romex) | Indoor branch circuits in modern homes | Economical; easy for pros to run in walls during new construction | Not for exposed wet locations; must be protected where exposed | No — leave major wiring to licensed electricians |
| THHN in conduit | Commercial and exposed runs (or where code requires conduit) | Durable, easy to replace conductors later; good for exposed or wet areas | Requires conduit and fittings; more labor to install | No — conduit work requires tools and code knowledge |
| Armored cable (MC) | Where extra mechanical protection is needed (e.g., exposed runs) | Mechanical protection, often faster than conduit for some installs | Heavier, sometimes costlier; still requires proper connectors | No — professionals should handle it |
| Knob-and-tube (historic) | Old homes (pre-1950s) — often found in attics and walls | Original to many vintage homes | No grounding, insulation degraded, often not accepted by insurers | No — replace by professionals for safety |
| Low-voltage wiring (data/phone/TV) | Data networks, phone, doorbells, thermostats | Separate from mains; critical for smart home devices | Different standards; must be separated from line-voltage runs | Yes (for some low-risk tasks) — but follow manufacturer guidance and keep separate from high-voltage |
Interpreting the table: NM-B (Romex) is the go-to for most interior branch circuits in new construction, while THHN in conduit and MC are used where extra protection or future flexibility is needed. Knob-and-tube is historic and typically replaced. Low-voltage wiring is its own category — important for data/entertainment and usually kept separate from line-voltage wiring.
READ MORE: Electrician Cost Per Hour: How Much Homeowners Pay in the U.S.
Short notes on terms (non-technical)
- Branch circuit: The wires that run from the panel to outlets, lights, and appliances.
- Conduit: A protective metal or plastic tube that houses individual wires (such as THHN).
- Grounding: A safety path that prevents shock; modern wiring includes a ground conductor.
- Service panel (breaker box): The home’s main electrical hub; older homes may have fuse boxes instead.
Cost factors & budgeting — how much does it cost to rewire a house?
Key cost drivers
- Size of the home: Square footage and number of circuits matter. A 1,200 sq ft bungalow costs less than a 3,000 sq ft two-story.
- Accessibility: Open walls (during a remodel) lower labor time. Finished walls require fishing wire and patching, which increases costs.
- Materials: Copper conductors, conduit, breakers, and the panel all add material cost. Copper prices can affect quotes.
- Labor and local rates: Electricians’ hourly rates vary by region metropolitan areas usually cost more.
- Scope of work: A full rewire (every circuit replaced) costs more than a partial rewire (kitchen circuits, service panel). Adding dedicated circuits for EV chargers, ranges, or HVAC increases price.
- Service panel upgrades: Moving from a 100-amp to a 200-amp service often adds significant cost because it may require new meter equipment and utility coordination.
- Permits and inspections: Municipal fees vary factor them in.
- Hidden conditions: Older homes can reveal problems (rot, asbestos, inaccessible framing) that add time and cost.
Ballpark figures (illustrative, not quotes):
- Minor circuit work (add a circuit, replace a few outlets): $200–$800.
- Partial rewire (kitchen/bath/selected circuits): $2,000–$8,000 depending on scope.
- Full rewire of an average home (1,200–2,000 sq ft): $8,000–$25,000+ (higher for complex homes).
- Service panel upgrade (100A → 200A): $1,500–$5,000+ (depends on utility fees/locations).
Budgeting tips
- Get multiple written quotes: At least three bids from licensed electricians to compare scope and pricing.
- Get itemized estimates: Labor vs. materials vs. permit fees it helps you compare apples to apples.
- Include a contingency: Plan 10–20% extra for surprises uncovered during work.
- Ask about payment milestones: Typical structure: deposit, progress payments, final payment after inspection. Avoid paying full amount up front.
Permits, inspections & code (U.S. focus) — do I need a permit to rewire my house?
Yes — in most cases you need a permit. Electrical work that involves new circuits, panel changes, or rewiring almost always requires a permit and inspection from the local building department. Permits protect you and future buyers by ensuring work meets the National Electrical Code (NEC) and local amendments.
Typical inspection steps
- Permit application: Usually submitted by the licensed electrician or contractor; includes scope and plans.
- Rough-in inspection: After wiring is run but before insulation or drywall inspector checks cable routing, box fill, grounding, and protective measures.
- Final inspection: After fixtures, switches, and panel are complete inspector verifies everything is operational and labeled.
Practical advice
- Hire a licensed electrician who obtains the permit: Many municipalities require licensed contractors to pull permits for electrical work; electricians will usually handle paperwork.
- Ask for permit references: On the written estimate, request the permit number and planned inspection milestones.
- Check local requirements: Contact your city or county building department or view their website for permit fees and processing times.
READ MORE: Whole House Surge Protector Cost in the USA (2026 Guide)
Project timeline & how long does rewiring take?
Typical phases and timeline
- Assessment & estimate (1–2 weeks): Electrician inspects, assesses load, and prepares an estimate.
- Permit processing (1–4 weeks): Time varies by jurisdiction and permit workload.
- Rough-in wiring (1–7 days): For partial projects this may be a day or two; full rewires can take multiple weeks depending on home size.
- Inspections (1–7 business days): Scheduling depends on inspector availability.
- Trim out & final fixtures (1–5 days): Installing outlets, switches, and lighting.
- Final inspection & sign-off (a few days): Once the inspector approves, the job is complete.
How long does rewiring take (examples)
- Small job (add a circuit): 1 day to a week (including permit).
- Partial rewire (kitchen + panel upgrade): 3–10 days of work over a few weeks with inspections.
- Full rewire of average home: 2–3 weeks of active work (longer if drywall repairs and painting are included).
Homeowner tip: Plan to be away during rough-in if you have pets or small children sensitive to noise or disruption.
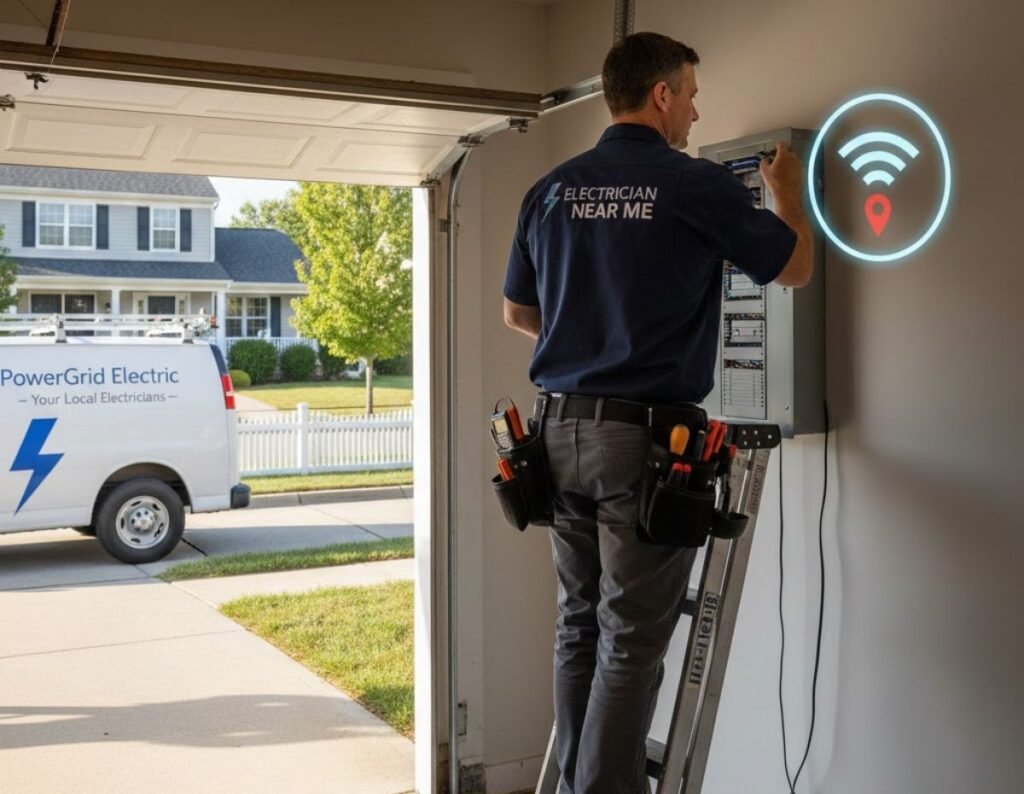
Finding, vetting & hiring a licensed electrician
Hiring the right electrician is the single most important decision you’ll make for an electrical project.
Where to find candidates
- Referrals: Friends, family, neighbors, or contractors who’ve recently done remodels.
- Local trade associations: State or local electrician associations can be good sources.
- Online directories & reviews: Use them for leads but verify credentials independently.
Vetting checklist
- License: Confirm the electrician’s license number and that it’s active in your state. Licensing websites usually let you verify status.
- Insurance: Ask for proof of liability insurance and workers’ compensation. This protects you if someone is injured or if property is damaged.
- References: Request recent references, ideally similar projects. Call and ask about timeliness, cleanliness, and whether the final bill matched the estimate.
- Written estimate & scope: Require an itemized, written estimate that includes materials, labor, permit fees, and expected timeline
- Warranty: Ask about workmanship warranty and product warranties. Typical warranties range from 1 year to several years for labor.
- Permits & inspections: Confirm who pulls permits most homeowners prefer the electrician to handle this.
Questions to ask the electrician
- “Are you licensed and insured in my city/state?”
- “Can you provide three references for similar projects?”
- “Will you obtain permits and schedule inspections?”
- “How do you handle unexpected conditions or change orders?”
- “What is your payment schedule?” (Avoid paying full amount up front.)
Red flags
- No license or unwillingness to provide proof.
- Cash-only deals with no paperwork.
- Highly lowball bids that seem too good to be true.
- Pressure to sign immediately without allowing time to compare quotes.
Contract & payment structure
- Use a written contract that lists scope, price, schedule, and warranty.
- Typical payment schedule: small deposit (often 10–30%), progress payment(s), and final payment after inspection and sign-off.
- Keep copies of all permits, receipts, and inspection reports.
DIY boundaries & safety
Clear rule: Do not perform live electrical wiring unless you are a licensed electrician. Electrical work can kill or cause fires if done incorrectly. This guide intentionally avoids step-by-step instructions that would enable unqualified readers to perform dangerous tasks.
Safe DIY alternatives & low-risk tasks
- Non-live tasks after power is off: Replacing a lightbulb, changing lamps, or swapping a faceplate are low risk if the circuit is de-energized and you’re comfortable. When in doubt, hire a pro.
- Install plug-in devices: Smart plugs, plug-in timers, and surge protectors that do not require hardwiring are safe consumer options.
- Low-voltage DIY: Running Ethernet or coax cable is lower risk than mains work, but keep low-voltage wiring separated from mains and follow manufacturer instructions. If you’re unsure, hire a technician.
- Appliance replacement: Plug-in appliances can be replaced safely; hardwired appliances (like ranges or ovens) should be handled by an electrician.
Safety tips for homeowners
- Always assume wires are live unless tested by a pro.
- Never remove grounding or bypass safety devices.
- If you smell burning or see sparking, turn off the main and call a professional immediately.
- Document old installations: If you’re selling the house later, having records of professional work and permits protects you.
Strong reminder: Many insurance policies and building codes require licensed professionals for permanent wiring. Avoid shortcuts the risk to life and property outweighs short-term savings.
READ MORE: Rewiring a House: Costs, Process, Permits, and What Homeowners Should Expect
Maintenance, upgrades & future-proofing tips
Maintenance checklist
- Test GFCI and AFCI devices periodically (most devices have a test button).
- Replace damaged or warm outlets immediately.
- Keep the electrical panel area clear and labeled.
- Replace carbon monoxide and smoke alarm batteries and test detectors regularly.
Upgrades that add value and safety
- AFCI/GFCI protection: Arc-fault (AFCI) and ground-fault (GFCI) protection reduce fire and shock risks many areas require them by code.
- Panel upgrades: Upgrading to a 200-amp service gives capacity for EV chargers and future expansion.
- Dedicated circuits: For ranges, EV chargers, HVAC systems, and workshops, dedicated circuits prevent overloads.
- Smart panels & load management: New “smart” panels let you monitor loads and sometimes add circuits digitally; discuss options with your electrician.
Future-proofing ideas
- Run conduit or oversized raceways where possible in unfinished spaces to make future conductor upgrades easier.
- Add extra low-voltage pathways (conduit or raceways) for future data cabling.
- Consider spare capacity in the panel and labeled knockouts reserved for future circuits.
Conclusion
Electrical wiring installation is a critical investment in home safety, comfort, and value. Whether you need a single dedicated circuit for an EV charger or a full house rewire, the right planning, licensed professionals, and permits make the difference between a sound upgrade and a potentially dangerous situation. Start by scheduling a professional assessment, get multiple written estimates, and insist on permits and proper inspections. Prioritize safety and documentation and budget a contingency for the inevitable surprises in older homes. If you’re ready to move forward, call three licensed electricians in your area, collect itemized bids, and ask each about permit handling and warranty terms.
READ MORE: Electrician Near Me
FAQ
Q1: How much does it cost to rewire a house?
A: Costs vary widely by home size and scope. Ballpark ranges: small partial jobs $200–$2,000, partial rewires $2,000–$8,000, and full rewires often $8,000–$25,000+. Get itemized quotes from licensed electricians for accurate pricing.
Q2: Do I need a permit to rewire my house?
A: In most U.S. jurisdictions, yes. Permits and inspections are required for new circuits, panel changes, and rewires. Your licensed electrician typically pulls permits.
Q3: What is the best wiring for a kitchen remodel?
A: Kitchens commonly use NM-B (Romex) for interior branch circuits, but major appliances require dedicated circuits and sometimes MC or conduit for protection. A licensed electrician will size circuits per code and appliance specs.
Q4: How long does rewiring take?
A: Small jobs may take a day; partial rewires a few days to a week; full rewires often 2–3 weeks of active work plus permit/inspection time. Timelines vary with home size and accessibility.
Q5: When should I upgrade my service panel?
A: If you have a 60–100 amp service and plan to add EV charging, an electric heat pump, or multiple large appliances, consider a 200-amp upgrade. Also upgrade if your panel shows corrosion, frequent trips, or is a dated fused panel.
Author bio: Jane Digi — construction journalist and former journeyman electrician with 10+ years reporting on residential building systems and interviewing licensed electricians and building inspectors. This article was compiled using trade experience and paraphrased expert input to provide practical homeowner guidance. Fact-checking note: Review local code and consult a licensed electrician for project-specific guidance.