If you have a room in your house that never seems to get cool enough, or if you’re tired of the racket coming from an old window unit, you’ve probably heard about mini splits. They are becoming the go-to solution for homeowners across the USA looking for comfort without the headache of massive renovations.
But here is the catch: while the units themselves are sleek and high-tech, the mini split air conditioner installation process is where the real magic (and sometimes the real stress) happens. Whether you are looking to cool a new home addition, a garage workshop, or your entire house, understanding how these systems are installed is the first step to a comfortable home.
In this guide, we’ll break down everything you need to know about ductless systems, from how they work to the nitty-gritty of the installation process, costs, and whether you should actually try to do it yourself. Lets deep dive into “Mini Split Air Conditioner Installation: Costs, DIY, & Expert Tips”
READ MORE: Carrier Heat Pump Reviews (2026) — Models, Costs, Pros & Cons
What Is a Mini Split Air Conditioner?
Before we dive into the installation details, let’s clear up exactly what we are talking about. A “mini split” is shorthand for a ductless mini split air conditioner. Unlike central air, which forces air through a maze of ducts in your attic or crawlspace, a mini split delivers air directly into the room.
The system is made up of two main components:
- The Indoor Unit (Air Handler): This is the sleek, rectangular box mounted on your wall or ceiling. It pulls in warm air from the room, cools it over a cold coil, and blows it back out.
- The Outdoor Unit (Condenser): This is the “muscle” of the operation. It sits outside your home and dispels the heat collected from inside.
- The Conduit: This is the “umbilical cord” that connects the two. It houses the power cable, refrigerant lines, suction tubing, and a condensate drain line.
The beauty of a mini split system installation is that it only requires a small three-inch hole in your wall to connect the inside to the outside. No bulky ductwork required.
Why Homeowners Are Making the Switch
Why is everyone talking about ductless mini split installation lately? It’s not just a trend; it’s about solving specific home comfort problems that central air simply can’t touch.
1. Incredible Energy Efficiency
Central air systems lose a lot of energy sometimes up to 30% as air travels through ducts. Since mini splits don’t use ducts, that loss is eliminated. You’re paying to cool your air, not your attic.
2. Room-by-Room Comfort (Zoning)
Have you ever fought over the thermostat? With a mini split, you can have different temperatures in different rooms. If you like your bedroom at 68°F but want the living room at 72°F, a multi-zone system makes it possible.
3. Whisper-Quiet Operation
If you’re used to the roar of a window AC, a mini split will be a revelation. The noisy parts (the compressor and fan) are outside. Inside, you’ll mostly hear a soft whoosh of air that’s quieter than a library.
4. Perfect for Challenging Spaces
Mini splits are the ultimate problem solvers for:
- Older homes without existing ductwork.
- Finished basements or converted garages.
- New sunrooms or home offices.
- Guest houses or “granny flats.”
READ MORE: Emergency Heat Pump Repair: Signs, Costs & What to Do
How Mini Split Air Conditioner Installation Works
If you are curious about what happens on installation day, here is a step-by-step look at the process. Even if you hire a pro, knowing these steps helps you ensure the job is being done right.
Step 1: Choosing the Right Location
Location is everything. The indoor unit needs to be on an exterior wall (ideally) and mounted high up to allow the cool air to drop and circulate. You also need to make sure it’s not blocked by furniture or curtains.
Step 2: Mounting the Indoor Unit
The installer will secure a mounting plate to the wall. It’s crucial that this plate is perfectly level; if it’s tilted, the condensation water won’t drain properly, and you’ll end up with a puddle on your floor.
Step 3: Drilling the Hole
This is the part that makes homeowners nervous. A hole (usually about 3 inches in diameter) is drilled through the wall to the outside. This hole is slightly sloped downward to allow gravity to help with drainage.
Step 4: Connecting the Lines
The refrigerant lines and communication wires are fed through the hole and connected to the back of the indoor unit. Once connected, the indoor unit is snapped onto its mounting plate.
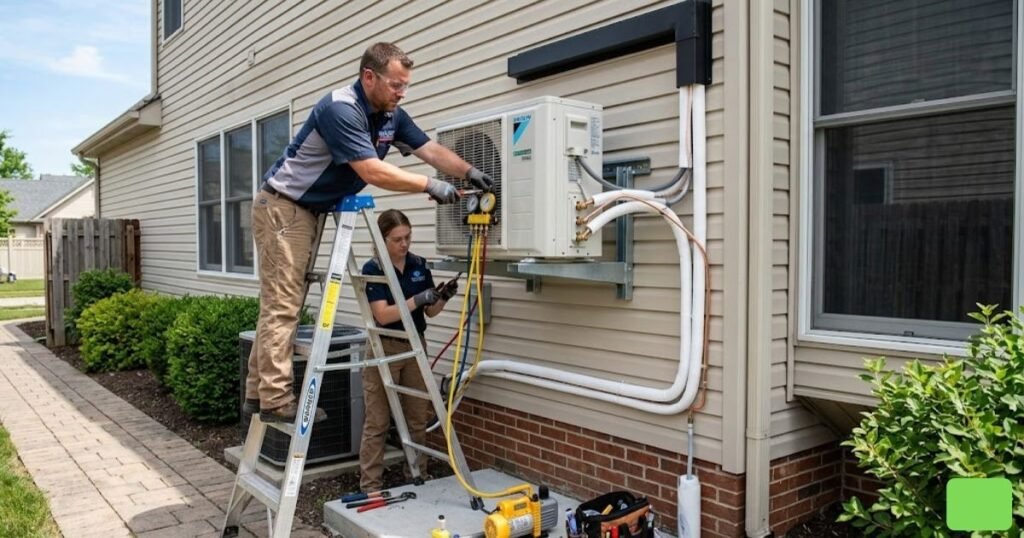
Step 5: Placing the Outdoor Unit
The outdoor condenser needs a solid, level surface. Most people use a concrete pad or a heavy-duty plastic “pad” on the ground. In areas with heavy snow, it’s often mounted on a wall bracket several feet off the ground to keep it clear of drifts.
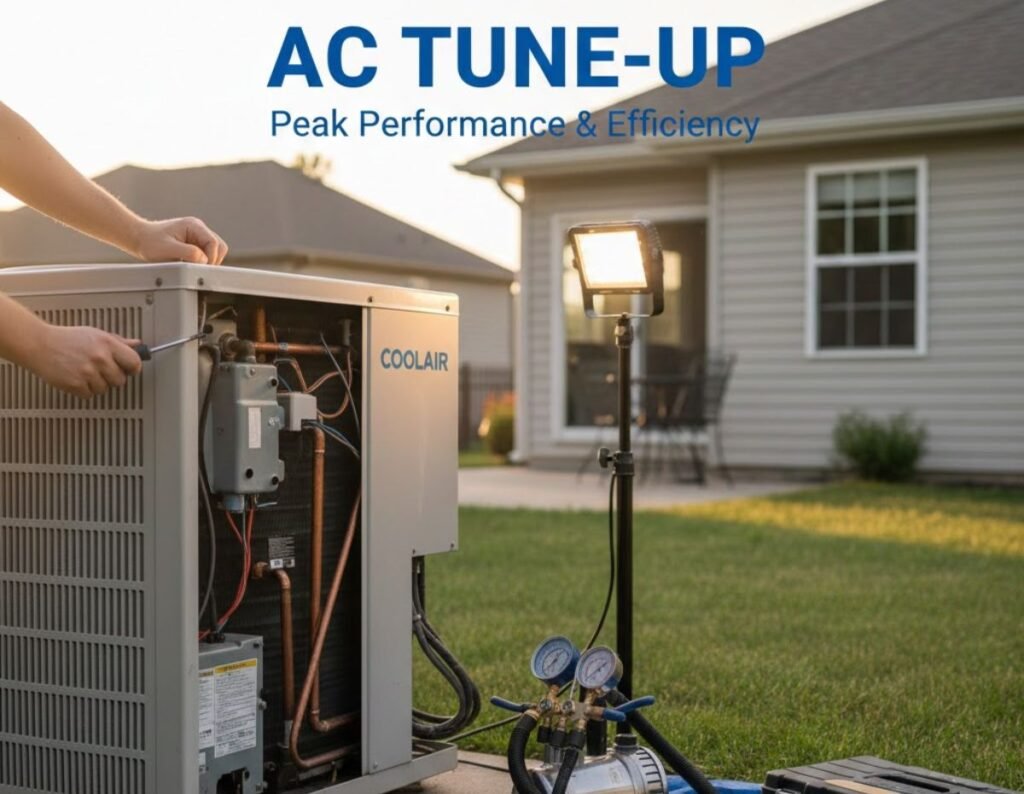
Step 6: The “Technical” Part (Vacuuming the System)
This is the most critical step. Once the lines are connected to both units, the installer uses a vacuum pump to remove all air and moisture from the lines. If moisture stays in the lines, it can ruin the compressor. After the vacuum is held, the refrigerant is released into the system.
Step 7: Electrical and Testing
The system is powered up, and the installer checks for leaks and ensures the unit is blowing cold air. They will also verify that the water is draining out of the condensate line correctly.
READ MORE: Emergency HVAC Service Near Me | Local HVAC Repair & Installation Services
DIY vs. Professional Installation: What You Need to Know
A quick search online will show you “DIY Mini Split Kits.” They are tempting because they promise to save you thousands in labor. But is how to install a mini split a project you should tackle on a Saturday morning?
The DIY Argument
If you are very handy, comfortable with a drill, and buy a “Pre-Charged” DIY kit, it is possible. These kits come with lines that are already filled with refrigerant, so you don’t need a vacuum pump. However, you are still responsible for:
- Perfectly leveling the units.
- Drilling through your home’s exterior.
- Running high-voltage electrical lines (220V).
The Professional Argument
Most homeowners should opt for professional mini split AC installation. Here is why:
- EPA Regulations: In the USA, it is technically illegal for an uncertified person to handle or “open” refrigerant lines.
- Warranty: Most manufacturers will only honor your warranty if the system was installed by a licensed HVAC contractor. If your DIY unit fails in six months, you might be out of luck.
- Electrical Safety: These units usually require a dedicated 220V circuit. Working with your main breaker panel is dangerous if you aren’t an electrician.
- Local Codes: A pro knows the local building codes and will pull the necessary permits to ensure your home remains insurance-compliant.
READ MORE: Weil‑McLain Boiler Reviews (2026) — Models, Costs, Pros & Cons
Cost of Mini Split Air Conditioner Installation
The million-dollar question: What is this going to cost? While prices vary by region and brand, here are the main factors that influence the mini split air conditioner installation cost.
1. Number of Zones
A “Single-Zone” system (one indoor and one outdoor unit) is the most affordable. As you add more indoor units (Multi-Zone), the price of the outdoor condenser and the labor goes up significantly.
2. System Capacity (BTUs)
Cooling a small bedroom (9,000 BTU) costs less than cooling a large open-concept living room (24,000 BTU). Getting the “size” right is essential; a unit that is too small will run constantly and drive up your power bill.
3. Labor and Complexity
If the indoor unit is right on the other side of the wall from the outdoor unit, installation is fast. If the installer has to run lines through an attic or across a crawlspace, the labor hours will climb.
4. Electrical Upgrades
If your current electrical panel is full, you might need an upgrade or a sub-panel to handle the new load of the AC. This can add $500 to $1,500 to the total bill.
General Price Range:
- Single-Zone Professional Install: $3,000 – $5,000
- Multi-Zone (3-4 rooms) Professional Install: $7,000 – $12,000
READ MORE: Best AC Technician Near Me | Licensed & Insured
Common Installation Mistakes to Avoid
Even if you hire a pro, keep an eye out for these common pitfalls. A bad installation can turn a great machine into a headache.
- Wrong System Sizing: Don’t just guess the BTUs. A pro should perform a “Manual J” calculation to see exactly how much cooling your specific room needs based on windows, insulation, and square footage.
- Poor Unit Placement: Placing the indoor unit directly above a TV or other electronics is risky in case the drain line clogs. Also, don’t put it in a corner where airflow is restricted.
- Incorrect Drainage Slope: The drain pipe must go downhill. If it goes uphill even slightly, water will back up and leak inside your house.
- Skipping the Vacuum Test: If an installer says they don’t need to “pull a vacuum,” find a new installer. This is a mandatory step for the longevity of the system.
- Ignoring Vibration: Outdoor units should be mounted on vibration pads. Without them, the hum of the compressor can resonate through your walls and drive you crazy.
Maintenance Tips After Installation
Once your ductless air conditioner installation is complete, you want it to last for 15–20 years. The good news is that maintenance is pretty simple.
- Clean the Filters Every Month: This is the most important thing you can do. Most mini split filters are reusable just pop them out, rinse them in the sink, dry them, and put them back.
- Keep the Outdoor Unit Clear: Check on your outdoor condenser occasionally. Make sure leaves, tall grass, or snow aren’t blocking the airflow.
- Check the Drain Line: Once a year, make sure water is flowing freely out of the drain pipe. If it looks gunky, a pro can flush it out for you.
- Schedule a Professional Tune-Up: Once a year, have an HVAC tech check the refrigerant levels and deep-clean the coils. It’s much cheaper than a repair.
READ MORE: Air to Water Heat Pump — Complete 2026 Buyer’s Guide (costs, brands, pros & cons)
Mini Splits vs. Central Air: A Quick Comparison
If you are torn between a mini split and traditional central air, here is the breakdown:
| Feature | Mini Split | Central Air |
| Ductwork | None required | Required |
| Efficiency | Very High (SEER up to 30+) | High (SEER 14-22) |
| Control | Room-by-room (Zoning) | Whole house (One Temp) |
| Aesthetics | Visible unit on the wall | Hidden vents |
| Install Time | 1 Day (Single Zone) | 3-5 Days (Including ducts) |
Understanding The Mini Split AC Sizing
When it comes to mini split air conditioner installation, you want a unit that is “just right.”
- Too Small: The unit will work itself to death, never quite reaching the temperature you want, and your energy bills will skyrocket.
- Too Large: The unit will “short cycle,” meaning it turns on and off constantly. This prevents it from properly dehumidifying the air, leaving the room feeling “clammy” or damp.
Rough Guide:
- 150 – 250 sq. ft: 9,000 BTU
- 250 – 500 sq. ft: 12,000 BTU
- 500 – 750 sq. ft: 18,000 BTU
- 750 – 1,000 sq. ft: 24,000 BTU
READ MORE: Goodman Heat Pump Review 2026 | Efficiency, Cost, Pros & Cons
When to Call an HVAC Professional
While we love a good DIY project, there are moments when you should put down the wrench and call in a licensed expert. You should definitely hire a pro for mini split air conditioner installation if:
- You have a multi-zone system: Balancing the refrigerant flow between four different rooms is a complex engineering task.
- You aren’t comfortable with electricity: Installing a 220V disconnect box requires knowledge of your local electrical code.
- Your home has “difficult” walls: Drilling through brick, stone, or stucco requires specialized bits and sealing techniques to prevent water damage.
- You want the tax credits: Many federal and state energy rebates require proof of professional installation to qualify.
Homeowner Tips for Choosing the Right Installer
Picking the right installer matters just as much as picking the right system. A good installer can help the unit last longer and perform better.
Look for someone who:
- Has experience with ductless mini split systems
- Understands local permits and code requirements
- Offers a written estimate
- Explains the work clearly
- Checks sizing before installation
- Handles vacuum testing and final startup properly
- Has strong reviews or references
It is also smart to ask what is included in the quote. Some low bids leave out electrical work, permit fees, or startup testing. That can make the final price higher than expected.
Conclusion
Investing in mini split air conditioner installation is one of the best ways to upgrade your home’s comfort and value. These systems are incredibly efficient, amazingly quiet, and offer a level of control that old-fashioned central air simply can’t match.
Whether you decide to go the DIY route with a pre-charged kit or hire a seasoned HVAC professional to handle the heavy lifting, the key is planning. Make sure you choose the right location for your mini split indoor and outdoor unit, size the system correctly for your space, and never skip the essential maintenance.
A well-installed mini split won’t just cool your home; it will change the way you live in it. No more hot rooms, no more window unit noise—just perfectly chilled, efficient air right where you want it.
Frequently Asked Questions (FAQ)
How long does mini split air conditioner installation take?
For a standard single-zone system, a professional can usually complete the installation in about 4 to 6 hours. Multi-zone systems that involve cooling three or four rooms can take a full day or sometimes two, depending on how difficult it is to run the lines.
Can I install a mini split air conditioner myself?
Technically, yes, if you purchase a “DIY-specific” kit that comes with pre-charged refrigerant lines. However, you will still need to handle the electrical wiring and mounting. For traditional units, you need specialized tools like a vacuum pump and a manifold gauge set, which is why most people hire a pro.
How much does mini split air conditioner installation cost?
In the USA, you can expect to pay anywhere from $3,000 to $5,000 for a professionally installed single-zone unit. For a whole-home solution with multiple indoor units, the cost typically ranges from $7,000 to $12,000 depending on the brand and complexity.
Do mini split air conditioners need ductwork?
No! That is their biggest advantage. They use small refrigerant lines to connect the indoor and outdoor units, which means you don’t have to tear up your walls or lose closet space to install bulky metal ducts.
What is the best location for mini split installation?
The indoor unit should be mounted on an exterior wall at least 7 feet off the floor. It should be placed in an area with unobstructed airflow, away from direct sunlight or heat sources like lamps. The outdoor unit should be placed in a shaded, well-ventilated spot where it’s easy to access for cleaning.